Skip to content


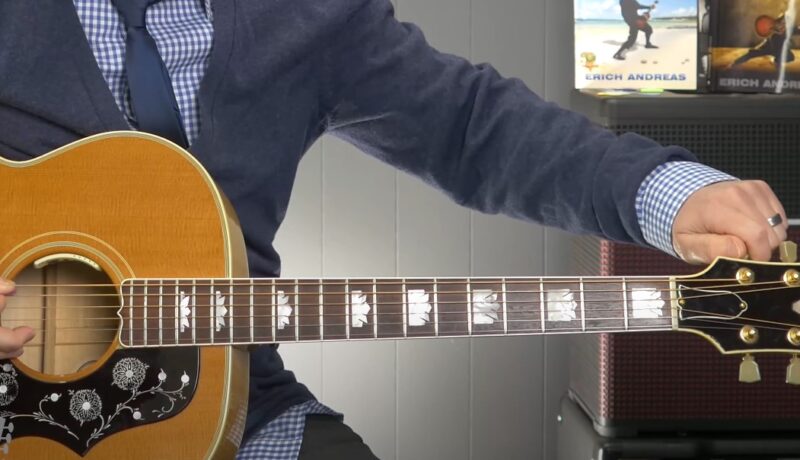
Tuning a guitar might seem like a simple task, but anyone who has picked up a guitar knows that getting it right is crucial.
Playing out of tune not only sounds off but can also hinder your progress as a musician.
If you’re just starting out or need a quick refresher, let’s walk through how to tune your guitar strings properly.
Knowing Your Guitar’s Standard Tuning
Before you start twisting those tuning pegs, it’s important to have a clear picture of how your guitar should sound. A standard six-string guitar is tuned as follows:
- 6th string (thickest): E (Low E)
- 5th string: A
- 4th string: D
- 3rd string: G
- 2nd string: B
- 1st string (thinnest): E (High E)
This arrangement, often referred to as EADGBE, is the foundation for most guitar playing. Each string needs to vibrate at just the right frequency to hit the correct note, and that’s where tuning comes into play. Also, feel free to check how to tune electric guitar.
What You Need to Get Tuned Up
There are several ways to approach guitar string tuning, depending on what tools you have at your disposal. Here are some common methods:
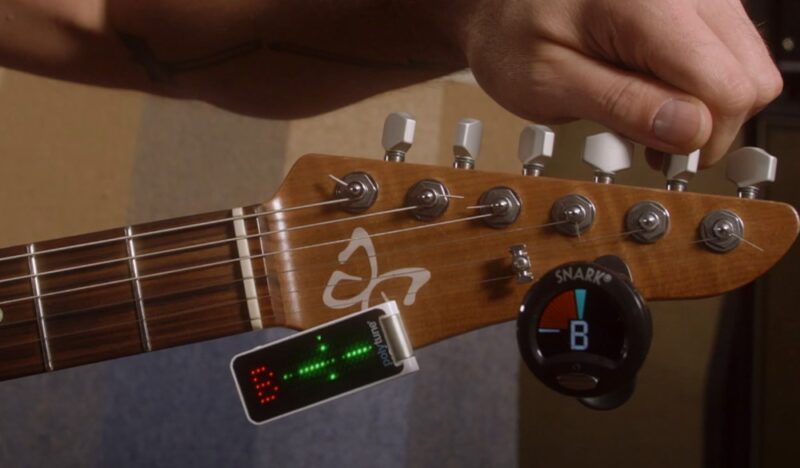
- Electronic Tuner: The go-to for most guitarists. It’s straightforward, accurate, and does the job without much fuss.
- Tuning Apps: Plenty of free apps can turn your smartphone into a tuner, giving you the same functionality as a physical tuner.
- Pitch Pipe or Tuning Fork: These are more traditional methods that produce a reference note, which you then match with your guitar string.
- Another Instrument: If you have a piano or another guitar handy, you can tune by ear, matching the pitch of your guitar strings to those of the other instrument.
Step-by-Step Tuning Process
Let’s get into the actual tuning process. I’ll break it down string by string so you can follow along easily.
Step 1: Tune the Low E String (6th String)
Start with the thickest string. Pluck it and check the pitch with your tuner or app. If the note is too low (flat), tighten the peg. If it’s too high (sharp), loosen it. Keep adjusting until you hit that sweet spot where the tuner shows you’re in tune.
Step 2: Tune the A String (5th String)
Next, move to the 5th string. Repeat the process. Pluck, check, and adjust until your tuner says you’re hitting an A note.
Step 3: Tune the D String (4th String)
Now for the 4th string. This one needs to be tuned to a D note. Follow the same steps: pluck, check, adjust, and repeat until it’s spot on.
Step 4: Tune the G String (3rd String)
The G string can be a bit tricky for beginners. It’s the third string, and you’ll tune it to a G note. Don’t rush it—take your time to get it right.
Step 5: Tune the B String (2nd String)
On to the 2nd string, the B string. This one is thinner, so be delicate with your adjustments.
Step 6: Tune the High E String (1st String)
Finally, tune the 1st string. It’s another E note, but an octave higher than the 6th string. Because it’s the thinnest string, it’s easy to overtighten, so be cautious.
Double-Check Your Tuning
Once you’ve tuned all six strings, it’s a good idea to give everything another check. Sometimes, tuning one string can cause others to shift slightly, especially if your strings or tuning pegs are a bit worn.
Strum a few chords and see how it sounds. If anything seems off, go back and fine-tune.
What If You Don’t Have a Tuner?
No tuner? No problem. You can still get your guitar in tune using the relative tuning method:
Step 1: Get Your Low E String in Tune
Start by tuning the 6th string as accurately as you can, using a reference note from another instrument or your best guess.
Step 2: The 5th Fret Method
Once your 6th string is set, place your finger on the 5th fret of that string. This note is an A, which should match the open 5th string. Tune the 5th string until they match.
Step 3: Tune the Rest of the Strings
Repeat this method for the 4th and 3rd strings. The only exception is the B string (2nd string), which you’ll match to the 4th fret of the G string (3rd string).
Step 4: Fine-Tune by Ear
After you’ve gone through all the strings, play a few chords to check how they sound together. Make any small adjustments until everything sounds right.
Alternate Tunings

As you become more comfortable with standard tuning, you might want to experiment with alternate tunings.
Changing up your tuning can open up new possibilities in your playing. Here are a few popular options:
- Drop D: Lower the 6th string from E to D. A favorite in rock and metal for its heavy sound.
- DADGAD: Used in Celtic music and fingerstyle guitar, this tuning offers a rich, open sound.
- Open G: Tune the strings to D-G-D-G-B-D. Perfect for slide guitar and blues.
Keeping Your Guitar in Tune
After you’ve gone through all the effort of tuning your guitar, it’s important to keep it that way. Here are some tips:
- Check Tuning Regularly: Always give your guitar a quick tune-up before you start playing. Temperature, humidity, and the age of your strings can all affect tuning.
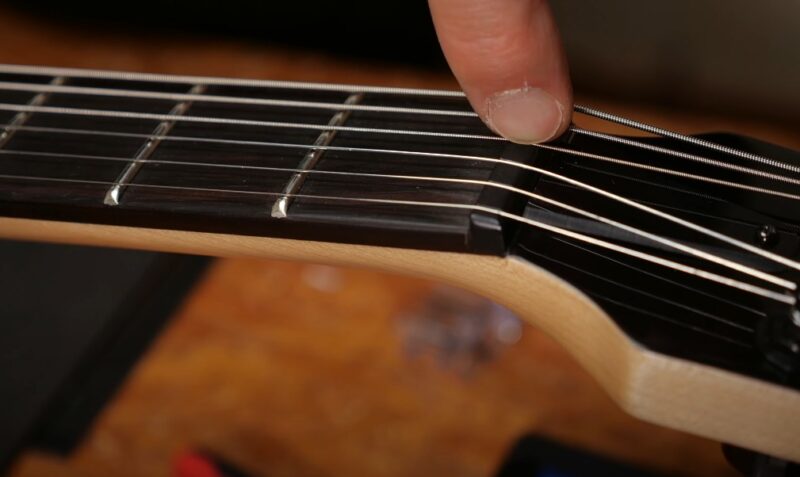
- Stretch New Strings: If you’ve just put on new strings, they’ll need some time to settle. Stretch them gently and then retune.
- Store Your Guitar Properly: Avoid extreme temperatures and humidity, as they can throw your guitar out of tune. A stable environment is key.
Troubleshooting Common Tuning Problems
Even with practice, tuning can sometimes be a challenge. Let’s tackle some common issues:
- Strings Won’t Stay in Tune: This could be due to old strings, loose tuning pegs, or problems with the guitar’s nut or bridge. Consider changing the strings or tightening the pegs.
- Buzzing Strings: If a string buzzes when played open, it might be too loose, or your guitar may need a setup to adjust the action.
- Difficulty Tuning: Some guitars have more sensitive tuning pegs, making small adjustments tricky. Take your time and make tiny adjustments.
Final Tips for a Better Tuning Experience
Here are a few extra tips to make sure your guitar stays in tune and sounds great:
- Tune Up, Not Down: When tuning, always approach the correct pitch from below. Loosen the string first, then tighten it. This method helps with tuning stability.
- Use Fresh Strings: Old strings can lose their elasticity, making them harder to tune. Change your strings regularly to maintain good sound quality and easier tuning.
- Develop Your Ear: While electronic tuners are convenient, training your ear to recognize pitches is an invaluable skill that will serve you well in the long run.
Wrapping It Up
Tuning your guitar might seem like a small part of playing, but it’s essential for making music that sounds good and feels right. The more you practice tuning, the better you’ll get at it.
Before you know it, tuning your guitar will be second nature, and your playing will shine because of it.