Skip to content


Creating a home recording space that delivers clean, professional sound is possible on a tight budget.
The key is to control your room’s acoustics, isolate unwanted noise, and select gear that gives you the most value per dollar.
For most people, you can transform a spare bedroom, closet, or even a corner of your living room into a highly functional studio for less than the cost of a single day at a professional facility.
The secret is to prioritize the right upgrades—not the flashiest ones—and focus on what actually matters for your sound.
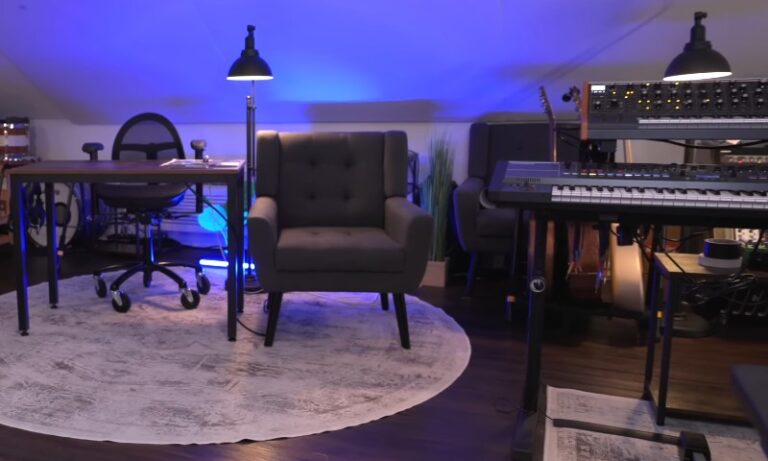
1. Choose Your Space Wisely
The first step in a budget recording setup is picking the right spot. A small, carpeted room with plenty of soft surfaces (curtains, furniture, bookshelves) is much better than a large, bare space with lots of hard surfaces.
Closets often work well for vocals because the hanging clothes absorb reflections. Avoid rooms near noisy appliances or exterior walls facing busy streets.
The less outside noise you start with, the less you’ll have to fix in post-production or with expensive gear.
2. Acoustic Treatment That Works
| DIY Acoustic Solution | Cost | Effectiveness | How to Use |
| Blankets & Heavy Curtains | $0–$30 | Moderate–High | Drape over windows, walls, and doors |
| Foam Mattress Toppers | $15–$40 | Moderate | Hang behind your mic and at first reflection points |
| Bookshelves & Pillows | Free–$20 | Moderate | Place behind/around your recording spot |
| Carpet/Rug | Free–$50 | High (for floors) | Covers echo-prone hard floors |
Why this works:
The most important factor in home recording quality is not your microphone—it’s how sound bounces around your room.
Soft materials trap echoes and prevent that “bathroom” or “boxy” sound you get in empty spaces.
Even simple additions like hanging thick blankets, stacking couch cushions, or placing bookshelves near your microphone can absorb a surprising amount of unwanted noise.
Focus first on treating the wall directly behind and to the sides of your mic, and lay a rug on any hard floor.
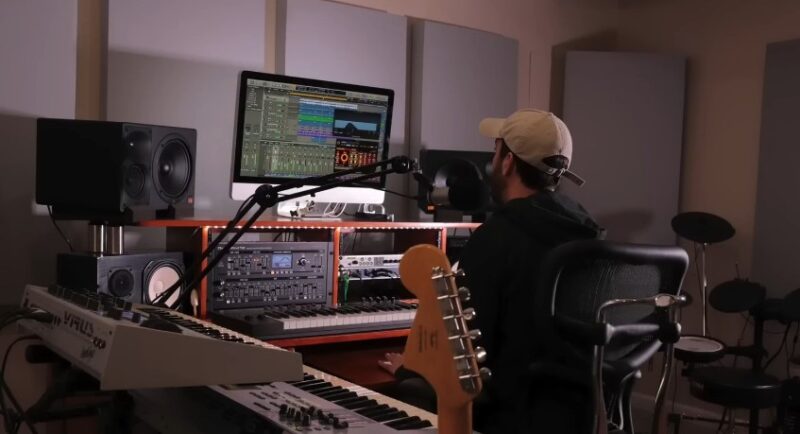
3. Smart Gear Choices on a Budget
| Gear Category | Budget Pick | Typical Price | Why It Works Well |
| Microphone | USB condenser mic | $40–$100 | Plug-and-play, solid audio quality |
| Audio Interface | Behringer UM2/Focusrite Solo | $40–$120 | Clean preamps, direct monitoring |
| Mic Stand & Pop Filter | Basic adjustable + filter | $20–$35 | Reduces mouth noise, stabilizes setup |
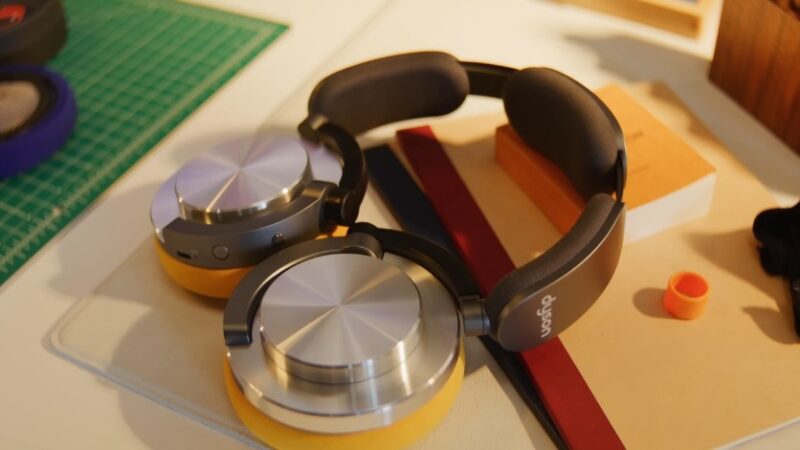
| Headphones | Closed-back, over-ear | $30–$80 | Isolates your sound from outside noise |
| Noise-canceling headphones for immersive sound | Taotronics/Bose (budget line) | $40–$120 | Blocks distractions, perfect for editing/mixing |
How to shop:
For most beginners, a USB condenser mic and a set of closed-back headphones are enough to get started.
But if you plan to track multiple inputs (vocals and guitar, for example), an affordable audio interface adds professional flexibility. Always use a pop filter to keep plosives (like “P” and “B” sounds) from distorting your takes
Closed-back headphones prevent your backing tracks from leaking into your microphone, while noise-canceling headphones for immersive sound can help you focus when editing, even if your home isn’t silent.
4. Control Noise Without Construction

Managing background noise is the biggest obstacle for most home recording enthusiasts—especially those living in apartments or busy neighborhoods. Unlike a professional studio, you probably can’t install double-pane soundproofing or build floating walls. But you can take several effective steps to minimize unwanted sounds without any renovation.
Start by identifying the main sources of ambient noise: refrigerators, HVAC systems, computers, street traffic, barking dogs, or noisy neighbors. Before recording, power down everything you can: turn off AC, unplug idle electronics, and silence your phone. Schedule recording sessions during the quietest periods in your environment—early mornings often work best before daily activity begins, or late at night after things settle down.
Next, focus on “soft” solutions to block or absorb stray noise. Use heavy towels or blankets to block the gap at the bottom of doors (door draft blockers are cheap and work well). Lay a rug or thick mat on hard floors to soak up footfall and prevent echo. If you have large windows, cover them with heavy curtains or moving blankets, which help absorb both inside and outside sound. Bookshelves filled with books can be placed against shared or exterior walls for a surprising amount of sound absorption.
For extreme cases, or if you’re stuck with very thin walls, create a makeshift vocal booth inside a closet. Fill the closet with as many hanging clothes as possible, and close the door while you record. The dense fabric absorbs reflections and muffles external noise, giving you a “dead” sound that’s actually prized for vocals and voiceovers. You can even record while sitting under a blanket or in a small tent for ultra-budget, ultra-dry results.
Lastly, always wear a pair of closed-back or noise-canceling headphones for immersive sound. These not only help you catch background noise during takes but also isolate you from household distractions, letting you monitor your audio with focus and accuracy—critical for editing and mixing later on.
5. Free & Low-Cost Recording Software
@mixedbyel_ The most affordable go to DAWS for recording music. – #protools #flstudio #logicprox #ableton #homestudio #fypシ #recordingstudio #independentartist ♬ Whoopty (Instrumental) – DJB
| Software | OS | Cost | Key Features |
| Audacity | Win/Mac/Lin | Free | Multitrack, effects, easy editing, podcast-ready |
| Cakewalk by BandLab | Windows | Free | Full-featured DAW, MIDI support, pro-level mixing |
| GarageBand | Mac/iOS | Free | Loops, virtual instruments, user-friendly interface |
| Reaper | Win/Mac/Lin | $60 (unltd trial) | Industry-grade, highly customizable, low CPU load |
Choosing the right software is all about matching features to your needs and budget.
Free programs like Audacity are incredibly versatile for beginners—they offer multi-track recording, basic effects, noise reduction tools, and easy waveform editing. It’s ideal for podcasts, audiobooks, and simple music projects. Cakewalk by BandLab steps things up for Windows users: it’s a full-featured digital audio workstation (DAW) that includes everything from virtual instruments to powerful mixing consoles and MIDI support, making it a serious competitor to paid studio software.
For Mac users, GarageBand is the classic choice. It’s beginner-friendly but surprisingly capable, with a library of virtual drummers, amps, and MIDI tools for music creation. If you want a program that will grow with you, Reaper is one of the most affordable professional DAWs available. Its unlimited trial means you can use it as long as you want, with no feature lockout, and the license fee is a one-time payment rather than a subscription. Reaper is also known for its lightning-fast performance, powerful customization, and huge online user community.
The smartest approach: Start with free options. These let you learn multi-tracking, editing, and mixing without a single dollar spent. Only upgrade to Reaper or another paid DAW once you hit real workflow limitations, or when you want to access specific pro features like advanced automation, VST plugins, or multi-channel mixing. Most importantly, invest in your room setup and a solid mic before buying expensive software—clear, noise-free recordings are the real foundation of great sound, and no DAW can fix a bad original take.
Conclusion
Setting up a recording space at home doesn’t require deep pockets or a spare room. Start with a quiet spot, tame your acoustics using what you already have, invest in one good microphone and a pair of noise-canceling headphones for immersive sound, and keep your software simple. With smart choices and a little creativity, you can achieve clear, professional results on any budget—proving that good sound is about know-how, not just spending power.