


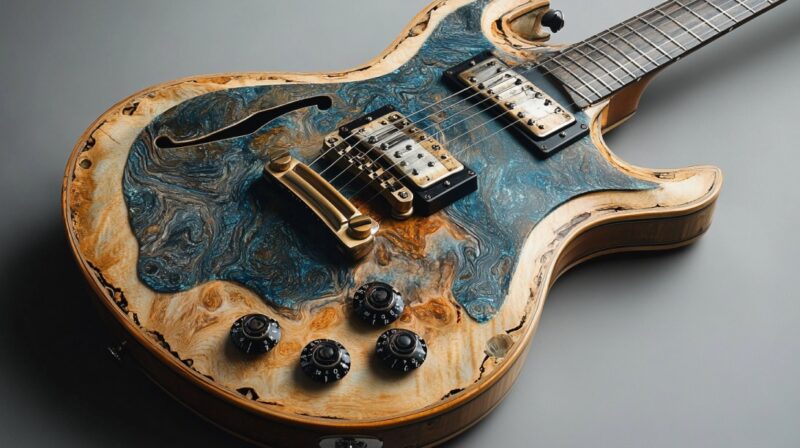
You don’t need to spend thousands to get an electric guitar that sounds like a high-end axe. In fact, with the right upgrades, a budget guitar, something in the $200–$400 range, can punch way above its weight.
Here’s the short answer: swap out key components like the pickups, nut, and tuners, dial in your setup, and you’ll be shocked how good a “cheap” guitar can sound.
Think of it like putting high-performance parts into an economy car; suddenly, you’ve got something that handles like a dream. The only thing left is developing your sound and becoming a DIY rockstar!
1. Pickups: The Most Impactful Change You Can Make
Cheap guitars almost always cut corners here. Stock pickups tend to sound muddy, lifeless, or overly harsh.
A good set of aftermarket pickups can completely change the voice of your guitar. Want more clarity and articulation for blues or jazz? Try something like Seymour Duncan Alnico II Pro humbuckers.
Need punchy, hot output for metal? EMG 81/85 or a DiMarzio Super Distortion might be your move.
Not sure where to start?
| Style | Pickup Example | Notes |
| Blues/Rock | Seymour Duncan ’59 Set | Warm, articulate, vintage voice |
| Metal | EMG 81/85 or Fishman Fluence | Tight lows, active tone |
| Indie/Funk | Fender Noiseless Strat Set | Clean, sparkly, no hum |
One thing, though: if you don’t know how to solder, this upgrade might require a tech, or at least a steady YouTube tutorial.
2. Nut Replacement: Small Part, Big Tone Boost
Nobody talks about the nut enough. That little strip up top? Huge tone gatekeeper.
Cheap guitars usually come with plastic nuts. That stuff’s not only soft and prone to wear—it also kills sustain and screws up tuning stability.
Swap it for a GraphTech Tusq, bone, or brass nut, and suddenly your open chords ring clearer, with more sustain and better intonation.
Bonus: Better materials also reduce string binding, so you stay in tune longer.
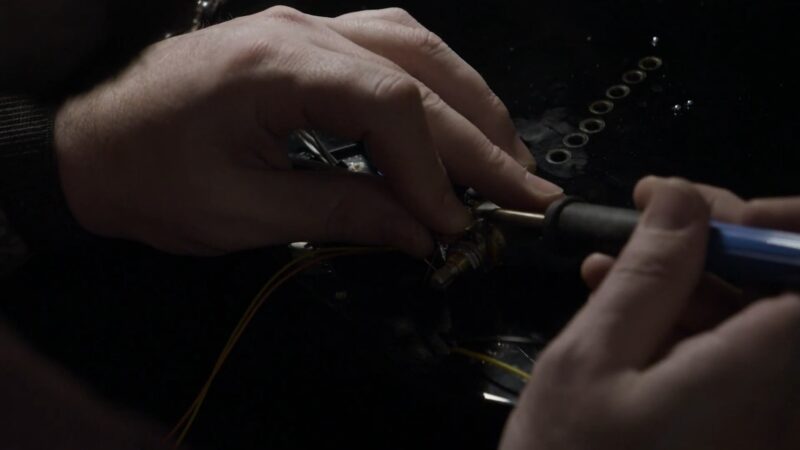
3. Electronics Overhaul: Pots, Switches, and Caps Matter
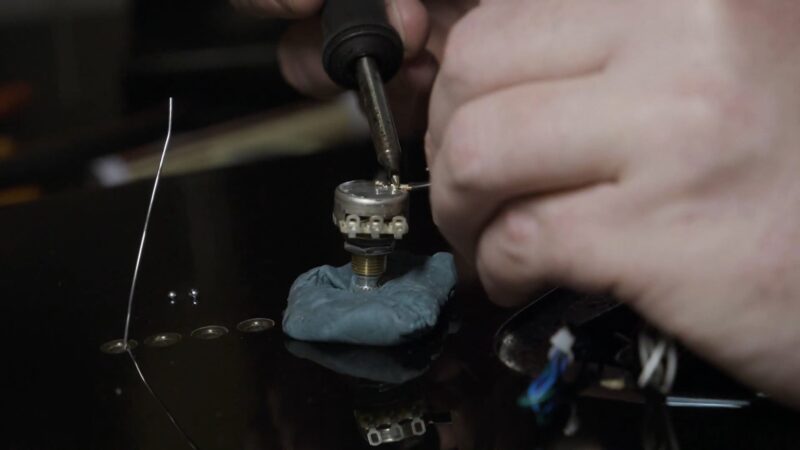
Here’s something that’ll surprise you: even with great pickups, bad wiring will sink your tone.
Budget guitars often use tiny, cheap potentiometers (pots), wobbly switches, and tiny capacitors that can suck the life out of your signal. It’s like trying to run a high-end stereo through dollar store speaker wire.
Upgrade to full-size CTS or Bourns pots, a solid Switchcraft jack, and quality capacitors like Orange Drop or Sprague. You’ll get a cleaner, more responsive tone—especially as you roll your volume and tone knobs.
Bonus tweak:
Wire your tone controls like a ’50s Gibson (aka “’50s wiring”), and you’ll retain treble when rolling down the volume.
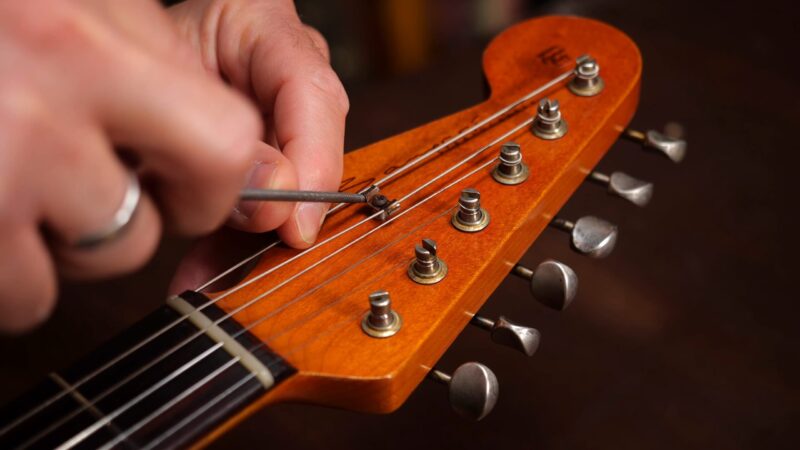
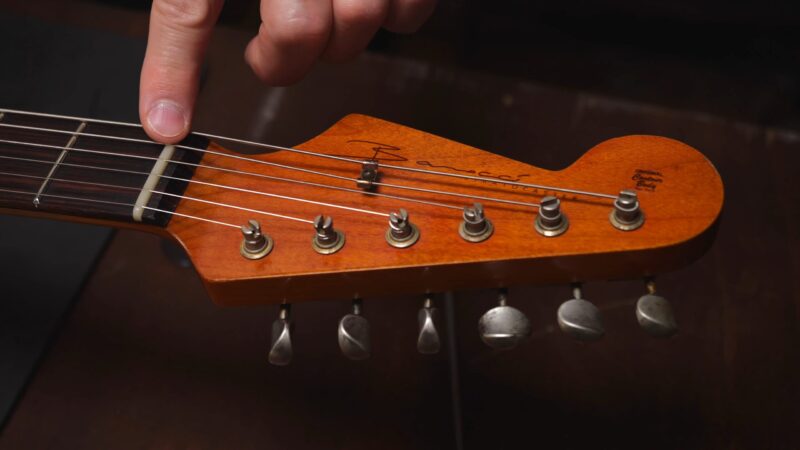
4. Locking Tuners: Better Tuning and Easier Restrings
If your guitar struggles to stay in tune, the stock tuners could be the culprit.
Enter locking tuners. They clamp the string in place so it can’t slip. Your tuning becomes rock solid, and changing strings takes half the time.
Brands like Grover, Gotoh, or GraphTech Ratio make excellent sets. Just make sure the replacements match your headstock’s hole size; some cheaper guitars use smaller bushings.
Also, don’t forget to stretch your strings when installing them. Even fancy tuners won’t help if your strings are still settling.
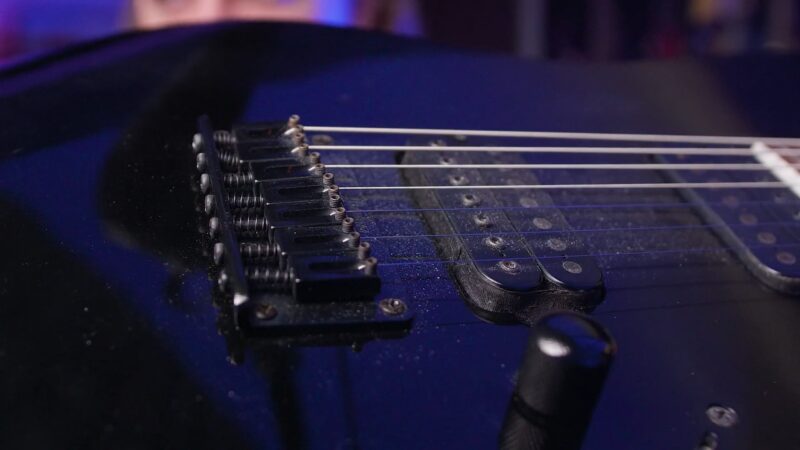
5. Bridge Swap: More Sustain, Better Feel
Hardtail? Tremolo? Either way, most cheap bridges are lightweight pot metal that doesn’t resonate well.
Upgrading to a steel or brass bridge (something with real mass and tight tolerances) can improve sustain, feel, and tuning stability. You might also notice better note separation.
Good choices:
- Strat-style trem? Go for a Wilkinson or Gotoh unit.
- Tune-o-matic? Try TonePros or Gotoh with locking posts.
- Hardtail? Hipshot makes excellent minimalist bridges.
Even if you don’t swap the bridge outright, upgrading saddles to something like GraphTech or brass can help.
6. Professional Setup: The Most Overlooked Upgrade
You could have a $3,000 guitar, and if the setup’s bad, it’ll still feel like a toy.
A pro setup includes adjusting the truss rod, action, intonation, nut slots, and pickup height. It aligns everything so your guitar plays in tune, feels smooth, and sounds its best.
It’s not glamorous, but it’s essential. Budget guitars are rarely set up well out of the box. A $75 setup can make a $300 guitar feel like $900.
Ask your tech to do a full check on fret level, too many cheap guitars have high or uneven frets that kill playability.
7. Don’t Sleep on Online Upgrades
Here’s one a lot of people overlook: where and how you buy your upgrades can be part of the upgrade strategy itself.
Buying parts online opens up way more choices. Boutique pickups from the U.S.? A custom neck from the U.K.? Brass saddles from a small shop in Japan? All doable with a few clicks, and sometimes cheaper than your local big-box music store.
More and more players are also using crypto to make purchases. Some gear sites accept it directly, while others allow you to convert before checkout.
If you’re into XRP, for instance, you can check the XRP to USD exchange rate before pulling the trigger on a mod. A favorable rate could mean snagging a premium part at a practical discount.
Crypto isn’t for everyone, but if you’re already in that space, it’s one more tool to make upgrading smoother and potentially smarter.
8. Fretwork: Level, Crown, and Polish
Speaking of frets…
If your guitar buzzes, has dead notes, or just feels “off” in spots, the frets could be the issue. Many cheaper guitars have poorly finished frets, rough edges, inconsistent heights, and sharp ends.
Getting a fret level and crown job can smooth everything out. A polish makes bending feel buttery.
This upgrade isn’t DIY unless you’re confident it requires precision tools and experience. But once done, your guitar will feel miles more expensive.
9. String Upgrade (And Gauge Tuning)
Yeah, it’s just wire. But it matters.
Cheap guitars usually ship with light-gauge, no-name strings that go dead fast. Try experimenting with higher-quality brands like D’Addario NYXL, Ernie Ball Paradigm, or Elixir if you want longer life and better tone.
Also, pay attention to the gauge. A slinky set of 9s might work for shredders, but if you’re chasing more sustain and beef, move up to 10s or even 11s, especially for blues or slide work.
Heavier strings hit the pickups harder, which means fatter tone… as long as your fingers and setup can handle it.
10. Shielding: Kill the Hum
Single-coil guitars, in particular, are prone to noise, especially under stage lights or near electronics.
The problem? Lack of shielding. Many cheap guitars skip it entirely.
Adding copper shielding tape or conductive paint to the control cavity and pickguard can dramatically reduce hum and buzz.
Think of it as grounding your guitar’s electrical system, same concept as shielding wires in your car’s ECU.
Takes some time and patience, but it’s not hard to do with a roll of tape and a soldering iron.